Fences serve as both functional and aesthetic elements in outdoor spaces, and proper maintenance is key to preserving their beauty. Fence staining and sealing are essential processes that protect wooden fences from the elements, enhance their appearance, and prolong their lifespan. This guide provides a comprehensive overview of understanding the benefits, preparing your fence, selecting the right products, and step-by-step application instructions for achieving a durable and attractive finish.
- Understanding Fence Staining and Sealing Benefits
- Preparing Your Wooden Fence for Staining
- Choosing the Right Stain and Sealer for Optimal Protection
- Applying Stain and Sealer: Step-by-Step Guide
Understanding Fence Staining and Sealing Benefits
Fence staining and sealing are essential processes for maintaining and enhancing the beauty of wooden fences. By applying a coat of stain, you can transform your fence into a stunning feature that complements your outdoor space. Staining allows you to choose from a wide range of colors, adding depth and character to even the most plain or weathered wood. It also helps to mask minor defects and imperfections, ensuring a uniform and appealing finish.
Beyond aesthetic benefits, sealing plays a crucial role in protecting your fence from the elements. Sealer acts as a barrier against water, UV rays, and other environmental factors that can lead to rot, decay, and fading. Regular sealing not only extends the lifespan of your wooden fence but also maintains its original appearance for longer periods. This cost-effective solution is a game-changer for homeowners looking to preserve their outdoor investments while adding value to their properties.
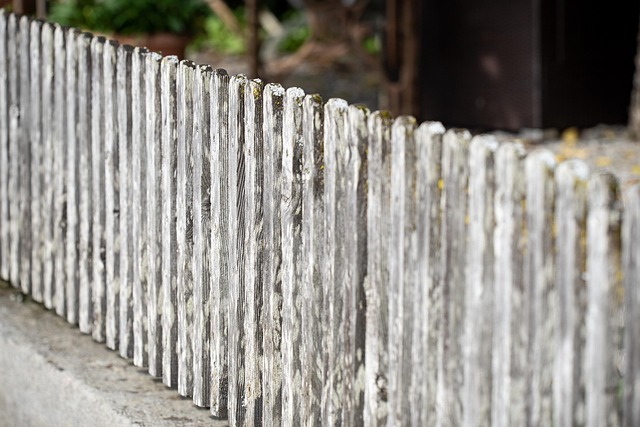
Preparing Your Wooden Fence for Staining
Before applying any stain or sealer to your wooden fence, proper preparation is key. Start by thoroughly cleaning the fence to remove any dirt, dust, mildew, or mold buildup. Use a pressure washer or a stiff-bristled brush and mild soap to ensure a clean surface. This step is crucial as it allows the stain to adhere better, resulting in a more even and long-lasting finish.
Once cleaned, inspect the fence for any repairs needed. Fill in cracks, split boards, or loose pickets with wood putty or a repair compound. Sand the area gently to create a smooth surface, then let it dry completely. Ensure all surfaces are free from debris and dust again before proceeding to the staining process.
Choosing the Right Stain and Sealer for Optimal Protection
Choosing the right stain and sealer is key to ensuring optimal protection for your wooden fence. Start by understanding the types of stains available—water-based, oil-based, or semi-transparent—each with unique properties. Water-based stains are environmentally friendly, quick-drying, and easy to clean, while oil-based options offer deeper color penetration and longer-lasting results. Consider your climate as well; in regions with high humidity or frequent rainfall, opt for water-repellent sealers that protect against moisture damage.
Additionally, select a sealer tailored to the specific needs of your fence. Some sealers provide UV protection, safeguarding against fading caused by sunlight exposure, while others offer superior stain resistance. Look for products labeled as “breathable” or “low VOC,” which allow the wood to dry and breathe, preventing long-term damage. Always read product instructions and follow safety guidelines during application for the best results.
Applying Stain and Sealer: Step-by-Step Guide
Applying stain and sealer to your wooden fence is a straightforward process that can transform its appearance and protect it from the elements. Start by cleaning the fence thoroughly, removing any dirt, debris, or loose paint using a pressure washer or brush. Ensure the wood is dry before proceeding.
Next, apply an even coat of wood stain using a brush or roller, following the manufacturer’s instructions for drying time. Once the stain is dry, spread on a layer of high-quality sealant with a paint pad or brush. Pay close attention to corners, edges, and crevices to achieve complete coverage. Allow the sealant to dry completely before adding another coat if needed, based on the product’s recommendations.